Beginner Tips for Composting at Home: A Simple Guide to Start Composting
Composting at home is a rewarding and environmentally friendly way to manage kitchen and garden waste. Not only does it reduce the amount of garbage sent to landfills, but it also provides nutrient-rich soil that helps your plants thrive. If you’re new to composting, this guide will walk you through easy, beginner-friendly tips to get started.
What Is Composting?
Composting is the natural process of recycling organic material such as food scraps, leaves, and grass clippings into a dark, crumbly substance called compost. This “black gold” enriches soil by improving its structure, moisture retention, and nutrient content.
Why Compost at Home?
– Reduce Waste: Composting diverts a significant amount of organic waste from landfills.
– Improve Soil: Compost adds valuable nutrients to your garden soil.
– Save Money: Cut down on buying chemical fertilizers.
– Support the Environment: Decomposing organic waste in landfills produces methane, a harmful greenhouse gas. Composting helps reduce this impact.
Getting Started: Beginner Tips for Home Composting
1. Choose the Right Composting Method
There are several ways to compost at home, and the best method depends on your space, time, and preferences:
– Compost Bin: A simple enclosed bin or tumbler keeps things neat and speeds up decomposition.
– Compost Pile: Great if you have ample outdoor space; you simply stack organic materials in a corner.
– Vermicomposting: Uses worms to break down organic waste quickly, ideal for indoor or small-space composting.
Pick the method that fits your living situation.
2. Find a Good Location
Choose a shady, well-drained spot for your compost bin or pile. Avoid placing it directly on concrete, as soil organisms help break down the material. A convenient location encourages regular maintenance.
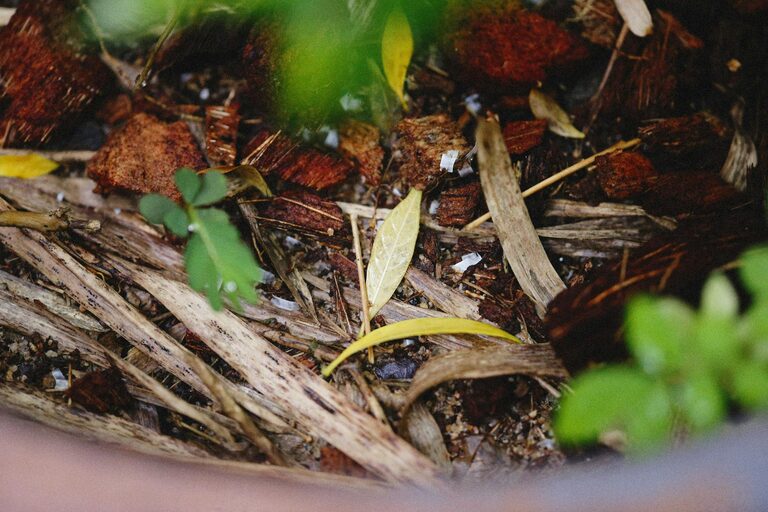
3. Know What to Compost
Balancing the right materials is key:
– Greens (Nitrogen-Rich): Fruit and vegetable scraps, coffee grounds, fresh grass clippings.
– Browns (Carbon-Rich): Dry leaves, cardboard, paper, straw, wood chips.
Avoid composting meat, dairy, oily foods, or pet waste as they attract pests and cause odor problems.
4. Maintain the Right Balance
Aim for roughly 2-3 parts “browns” to 1 part “greens.” Browns provide carbon, while greens add nitrogen, both necessary for microbes to thrive.
5. Manage Moisture and Aeration
– Your compost should be about as damp as a wrung-out sponge. Add water if it’s too dry, or toss in more browns if too wet.
– Turn or mix your compost every 1-2 weeks to introduce oxygen, which speeds up decomposition and reduces odors.
6. Be Patient
Depending on conditions, compost can take anywhere from a few months to a year to be ready. Finished compost is dark, crumbly, and smells earthy.
Tools That Help
– Garden Fork or Shovel: For turning and mixing.
– Compost Thermometer: To monitor temperature (optional, but helpful).
– Compost Bin/Tumbler: To keep materials contained and neat.
Troubleshooting Common Issues
– Bad Odor: Usually caused by too much moisture or too many greens. Add browns and turn the pile.
– Pests: Avoid meat, dairy, and oily foods. Secure your bin and cover food scraps.
– Slow Decomposition: Chop materials into smaller pieces, maintain moisture, and aerate regularly.
Using Your Finished Compost
Once ready, use your compost to:
– Enrich garden beds and pots.
– Mulch around plants to retain moisture.
– Improve lawn health by spreading thin layers.
– Start seedlings with nutrient-rich soil.
Final Thoughts
Composting at home is easy once you know the basics. By starting small, balancing your scraps, and keeping your compost healthy, you’ll soon enjoy fresh, homemade fertilizer that benefits both your garden and planet. Happy composting!